Some notes regarding the setup and operation of Doppler Broadening Spectroscopy software
ProSpect is the data acquisition software used to collect the energy spectra via the Lynx Multi Channel Analyzers (MCA) for doppler broadening experiments.
1) Click on ‘Connect to Device’ on the bottom bar
2) In the window that pops up, select or type the local IP address of ONE MCA device. Then, check the ‘Take Over’ box and click connect.
Note: This field may be autofilled with both the IP address and a port number or a name following the address, however, the IP address should be sufficent to connect the devices.
3) Repeat step two to connect the second MCA device.
4) Click on the ‘Datasources’ tab at the bottom of the window. Both HPGe Detectors should be labeled along with their IP addresses with empty spectrum graphs. A blue background (of the window (not an actual spectrum) should indicates that both analyzers are connected.
5) If there is an error (indicated by an orange background), SHIFT + doubleclick on the yellow circle at the top left will prompt you to clear the device fault. Select ‘Yes’ and check if the error persists.
The detector preamplifiers need to operate at \(4400 V\) the software will automatically ramp the voltage, the reading voltage should reach ~\(4000 V\), this is when the detectors reach operational status.
1) Install ROOT via your package manager, that is, if it is supported: https://root.cern/install/#linux-package-managers (preferably compile from source, this may take a while)
2) Use source ./thisroot.sh, the shell script can found in the bin directory of your ROOT installation.
3) Clone the repository from github and compile using the commands below: Petr’s sw-calculator
git clone https://github.com/petrstepanov/sw-calculator
cd sw-calculator
cmake ./
make install (may need to sudo this)
See python script for plotting from CSV file (link repo here)
1) Make sure VirtualBox is installed on your computer: https://www.virtualbox.org/
2) Download a Ubuntu iso image from the official website website.
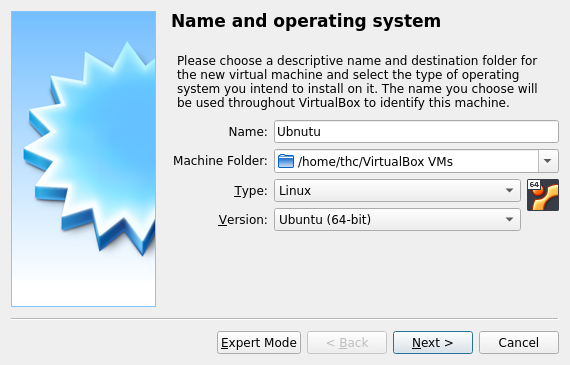
3) Open up VirtualBox and click on “New” to create a new VDI. Use the following settings:
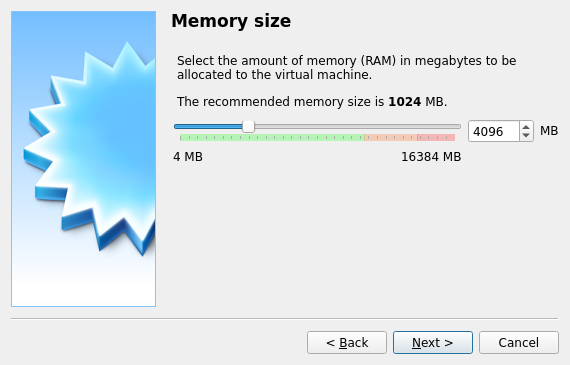
4) On the next screen, feel free to allocate as much RAM as you need. If you are not sure a quick google search recommends at least 4Gb (4096MB).
5) On the following screen, click “Create a Virtual Hard Disk”.
6) Select “VDI”.
7) If you are unfamiliar, Select “Dynamically Allocated”
8) Allocate as much disk space as you need. For the purposes of DBS analysis, I recommend 30GB setting (ROOT will be taking most of this space) and resize the partition if I ever need more.
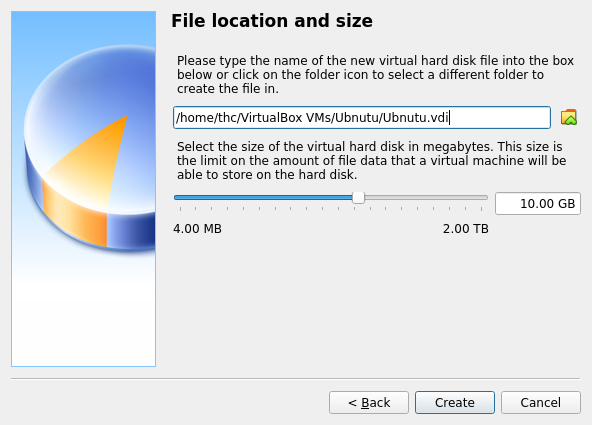
9) You will be prompted to choose a file location and the virtual machine will be created. However the operating system has not been installed yet!
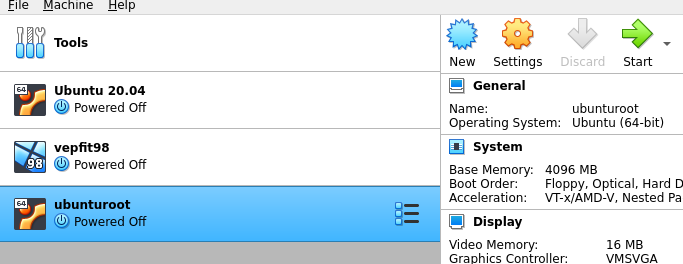
10) With the new virtual machine highlighted, click on “Settings”.
11) Click on “Storage” and then click on the circle with the green plus symbol to add an optical drive.
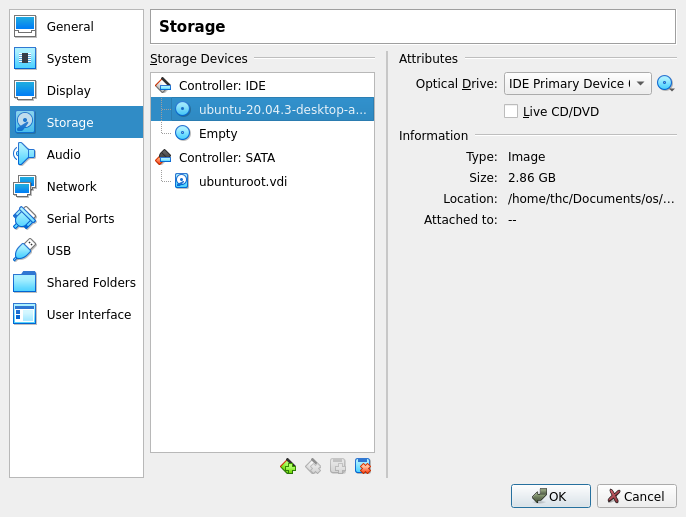
12) Find the folder where you downloaded the Ubuntu .iso and add it. o
13) You can also set the number of CPUs to allocate in the “Processor” tab, I usually set 2.
14) It may also be worth setting the video memory to the maximum value in the “Display” section.
15) Confirm everything and click the green “Start” arrow. Ubuntu should boot up and prompt you with installation instructions.
Protip: The modification key for virtualbox is usually RIGHT CTRL. This will be used if you need to switch between the virtual and host machine.
Canonical has made it the installation pretty straightforward to install Ubuntu. I won’t go into too much detail here but I will highlight any key points.
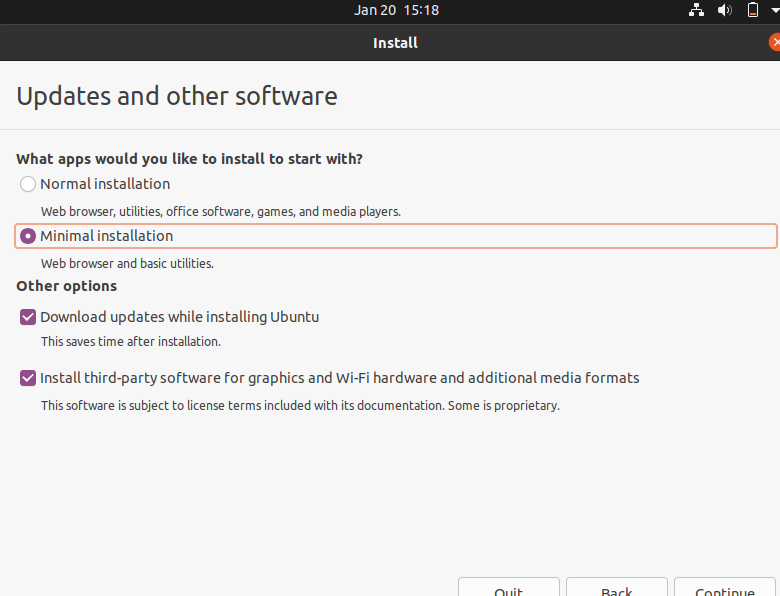
1) I select minimal install, I don’t need any extra apps (since all of these are already on my host machine) on my installation. I check “Install third party software…”. Ubuntu will attempt to find the appropriate drivers for your hardware.
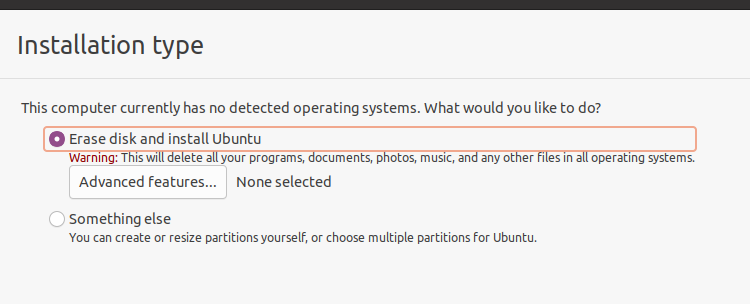
2) When you get to the step below. Select “Erase disk and install Ubuntu”. Don’t worry about the warning, this is a virtual machine and the virtual disk is distinct from your host machine; your files on your host computer will be SAFE.
3) Once the installation is complete you need to remove the disk image that was mounted for the installation. On the top left, select “Devices > Optical Drive > IDE (whatever goes here) > Remove disk from virtual drive”. The installation will prompt you with a restart.
4) Since this is a completely new installation of Ubuntu, run the following block to get started with pulling and building from repositories:
sudo apt install git cmake
4a) (Optional but good practice) feel free to throw in a
sudo apt update
to keep the OS on the most stable release.
5) Now time to compile ROOT.
Before installing ROOT, make sure you have the required dependencies:
One liner for debian based distributions:
sudo apt-get install dpkg-dev cmake g++ gcc binutils libx11-dev libxpm-dev \
libxft-dev libxext-dev python libssl-dev
If there is no need for ROOT debug tools or extra header files, then ROOT can be installed with commands below:
wget https://root.cern/download/root_v6.24.02.Linux-ubuntu20-x86_64-gcc9.3.tar.gz
tar -xzvf root_v6.24.02.Linux-ubuntu20-x86_64-gcc9.3.tar.gz
source root/bin/thisroot.sh
For the purposes of tweaking lab software, you may want to compile ROOT from source.
1) Clone github repository: git clone –branch latest-stable https://github.com/root-project/root.git root_src
2) Prepare and install and build directory and make sure you are in the root_build directory:
mkdir root_build root_install && cd root_build
3) Specify directories for cmake to store compile file:
cmake -DCMAKE_INSTALL_PREFIX=../root_install ../root_src
4) Start the build. You can specify the amount of cores to designate to the build with the -j(core#s) tag, the more cores, the faster the compile time. In the example below -j4 assigns for processor cores. (grab some lunch/put on a show/do laundry, this will take a while)
cmake --build . -- install -j4
5) Hopefully everything has been smooth sailing. Source the ROOT binary, you can add this to your ~/.profile if you want it on startup.
source ../root_install/bin/thisroot.sh